Mould Impression Kit Guide
Our mould impression kit guide is designed to help you capture your loved one's unique characteristics with precision. With expert guidance and helpful tips, you’ll create a beautifully detailed mould ready to become a lasting piece.

Step one
Let's get started.
Please read through all of the instructions before starting.
It is a good idea to have your loved one ready before you start working with your putty, as you don’t want to waste time whilst your putty is hardening.
Make sure that your hands are clean and that you have a distraction free area to work from. You may find it easier to have a pair of helping hands to complete the next steps, especially if taking an impression of a young child. In this instance, the best time to create your mould is when your child is calm. Perhaps after they eat, or just before/after they take a nap.
Remove the contents of the impression kit and place everything on a clear surface. You should have two round plastic pots in your kit, one with a ball of blue putty and one with a ball of white putty.

STEP TWO
Roll with it
It is important to work quickly during this step to avoid the putty drying out too early. You have approximately 2 minutes working time once you start handling your putty.
Mix equal parts of the blue putty together with the white putty until you have a uniform colour with no streaks. As soon as the blue putty touches the white putty, it will begin to cure, so mixing it together quickly is imperative. Once your putty is mixed, roll into a ball. You may wish to use one of the pot lids to hold the putty whilst pressing the finger into it.

STEP THREE
Press on!
Make sure loved one’s finger is clean and dry. If the finger is wet, the putty will slide around and not take the print. If the finger is not clean, dirt or hair may even get stuck in your mould, resulting in a partial print being captured.
Gently push the finger into the putty and release. There is no need to hold the finger in the putty, a quick press is all it takes.
Please do not allow your child to ingest any part of the kit.

Lookin' good!
Be sure to inspect your impression carefully (see tips below for what to look out for). If you’re not completely happy with your impression, you *may* be able to roll it into a ball and try again. This depends on how quickly you worked to take the first impression (and if your loved one is willing). If your mould has started to set already, not to worry! You can always order an additional set of moulding putty to try again. The link to purchase additional moulding putty can be found here.
Please do not allow your child to ingest any part of the kit.
Tah dah!
Once you’re completely satisfied with your mould, set it aside to cure for at least 30 minutes before moving. Don’t be tempted to touch the mould until it has fully set. Once it has set, send the mould back to us and let us work our magic!
Once your impression mould is safely packaged away, click below for the instructions on how to get your impressions back to us!
Need a little extra help?
Top Tips!
- To take a good impression, your putty must be mixed thoroughly. This is the most common mistake when first using moulding putty. You are looking to achieve a completely uniform colour (light blue), with no streaks or marbling. If your putty is not mixed thoroughly, it will not cure properly.
- It can sometimes be difficult to see whether you have taken a clear impression. As a general rule, if you can see the fingerprint with the naked eye, your impression is a good one. If you can’t see the impression with the naked eye, try taking a photograph of the impression with flash. If you’re still unsure, send the image to info@rubytynanjewellery.co.uk for us to take a look.
- To take an even impression of the finger, use a flat surface to hold your putty. For example, a credit card, coaster, or the lid of one of the pots.
- You may find it easier to take an impression from your young child with an extra pair of helping hands to stabilise or comfort them.
- This kit is completely safe to use as instructed, however it does require a little patience. The best time to take an impression from a young child is when they're calm. This may be after they have eaten, or just before/after a nap.
**PLEASE DO NOT ALLOW YOUR CHILD TO INGEST ANY PART OF THE KIT**
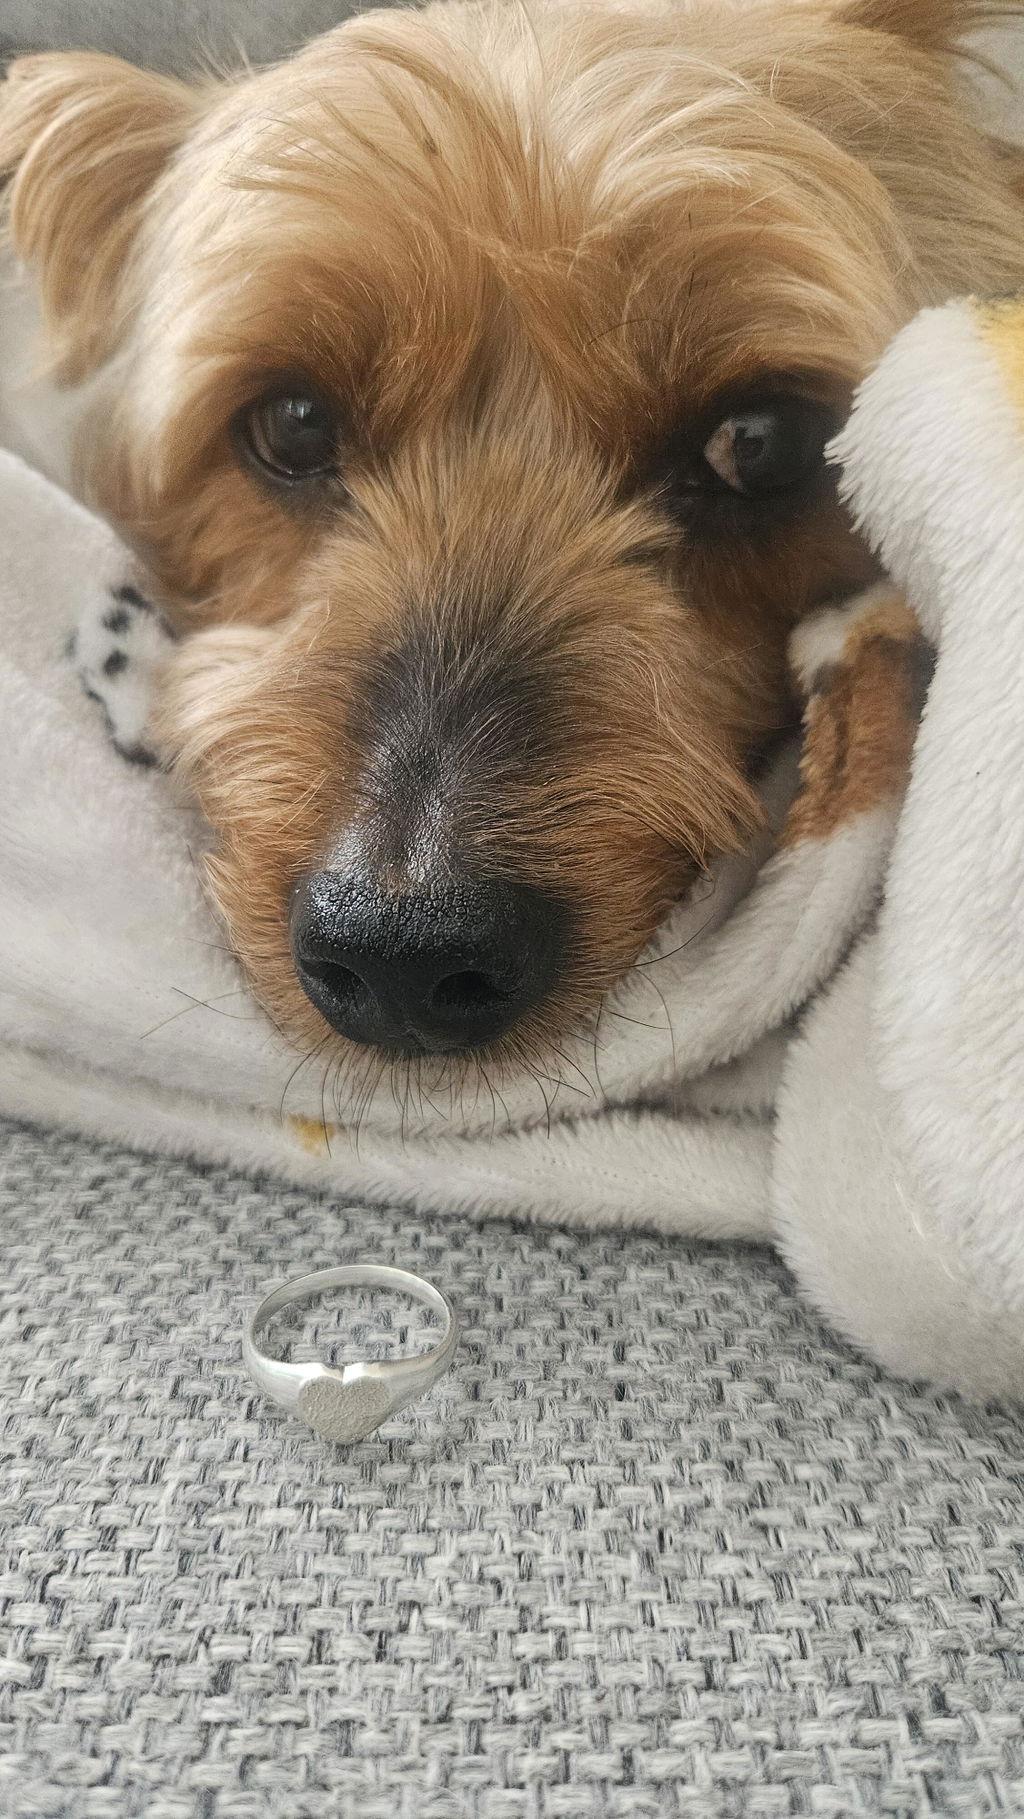
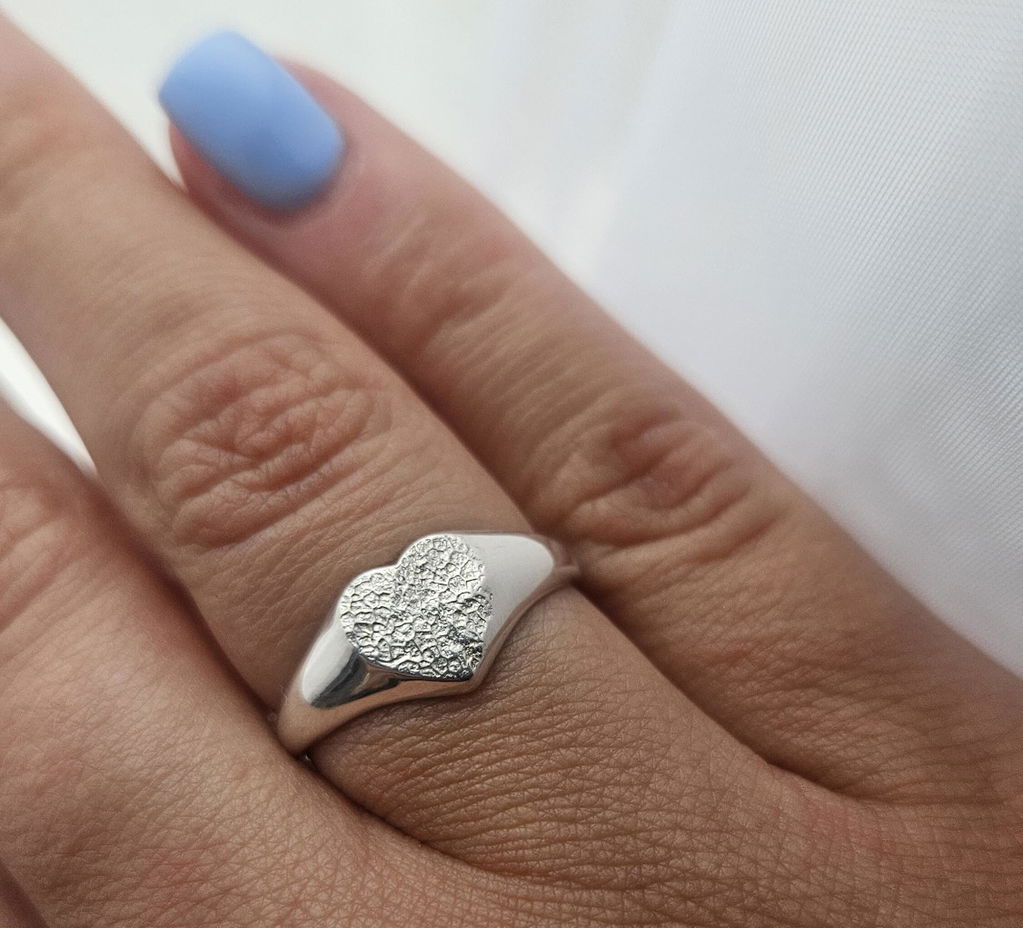
Fingerprint Impression Pieces