Wax Impression Kit Guide
Everything you need to know to create a beautiful fingerprint impression using the wax impression kit. Follow the simple step-by-step guidance and tips to achieve the best possible detail from your loved one’s unique impression.

Step one
Let's get started
First up, make sure that your hands are clean and that you have a distraction free area to work from. Then, remove the contents of the wax impression kit and place everything on a clear surface. You should have three tins with a ball of wax in each. If you're capturing the fingerprint of a young child, you may find it easier to have a pair of helping hands to complete the next steps.
Heat the balls of wax one at a time by rotating them slowly in front of a hairdryer (on a low heat), or by dropping the wax into a bowl of hot (not boiling) water for 15-20 seconds. Take care not to melt the wax, it only needs to be soft enough to be malleable.

STEP TWO
Roll with it
Roll the wax with your palms to ensure that the wax is as spherical as possible. This will help create a nice round shaped pendant.
You're aiming for the consistency of Blu Tack. If the wax is too cold, it may crack. If the wax is too warm, it may not take the fingerprint as clearly.

STEP THREE
Press on!
Place the wax proof paper on top of the size guide. You may want to secure the two together with tape to prevent the wax proof paper from sliding over the size guide.
Evenly press the finger onto the wax until it has filled the size template, or until you're satisfied witht the size and shape of your impression. The harder your press, the larger and flatter your pendant will be. Gently peel your finger up and off the wax.
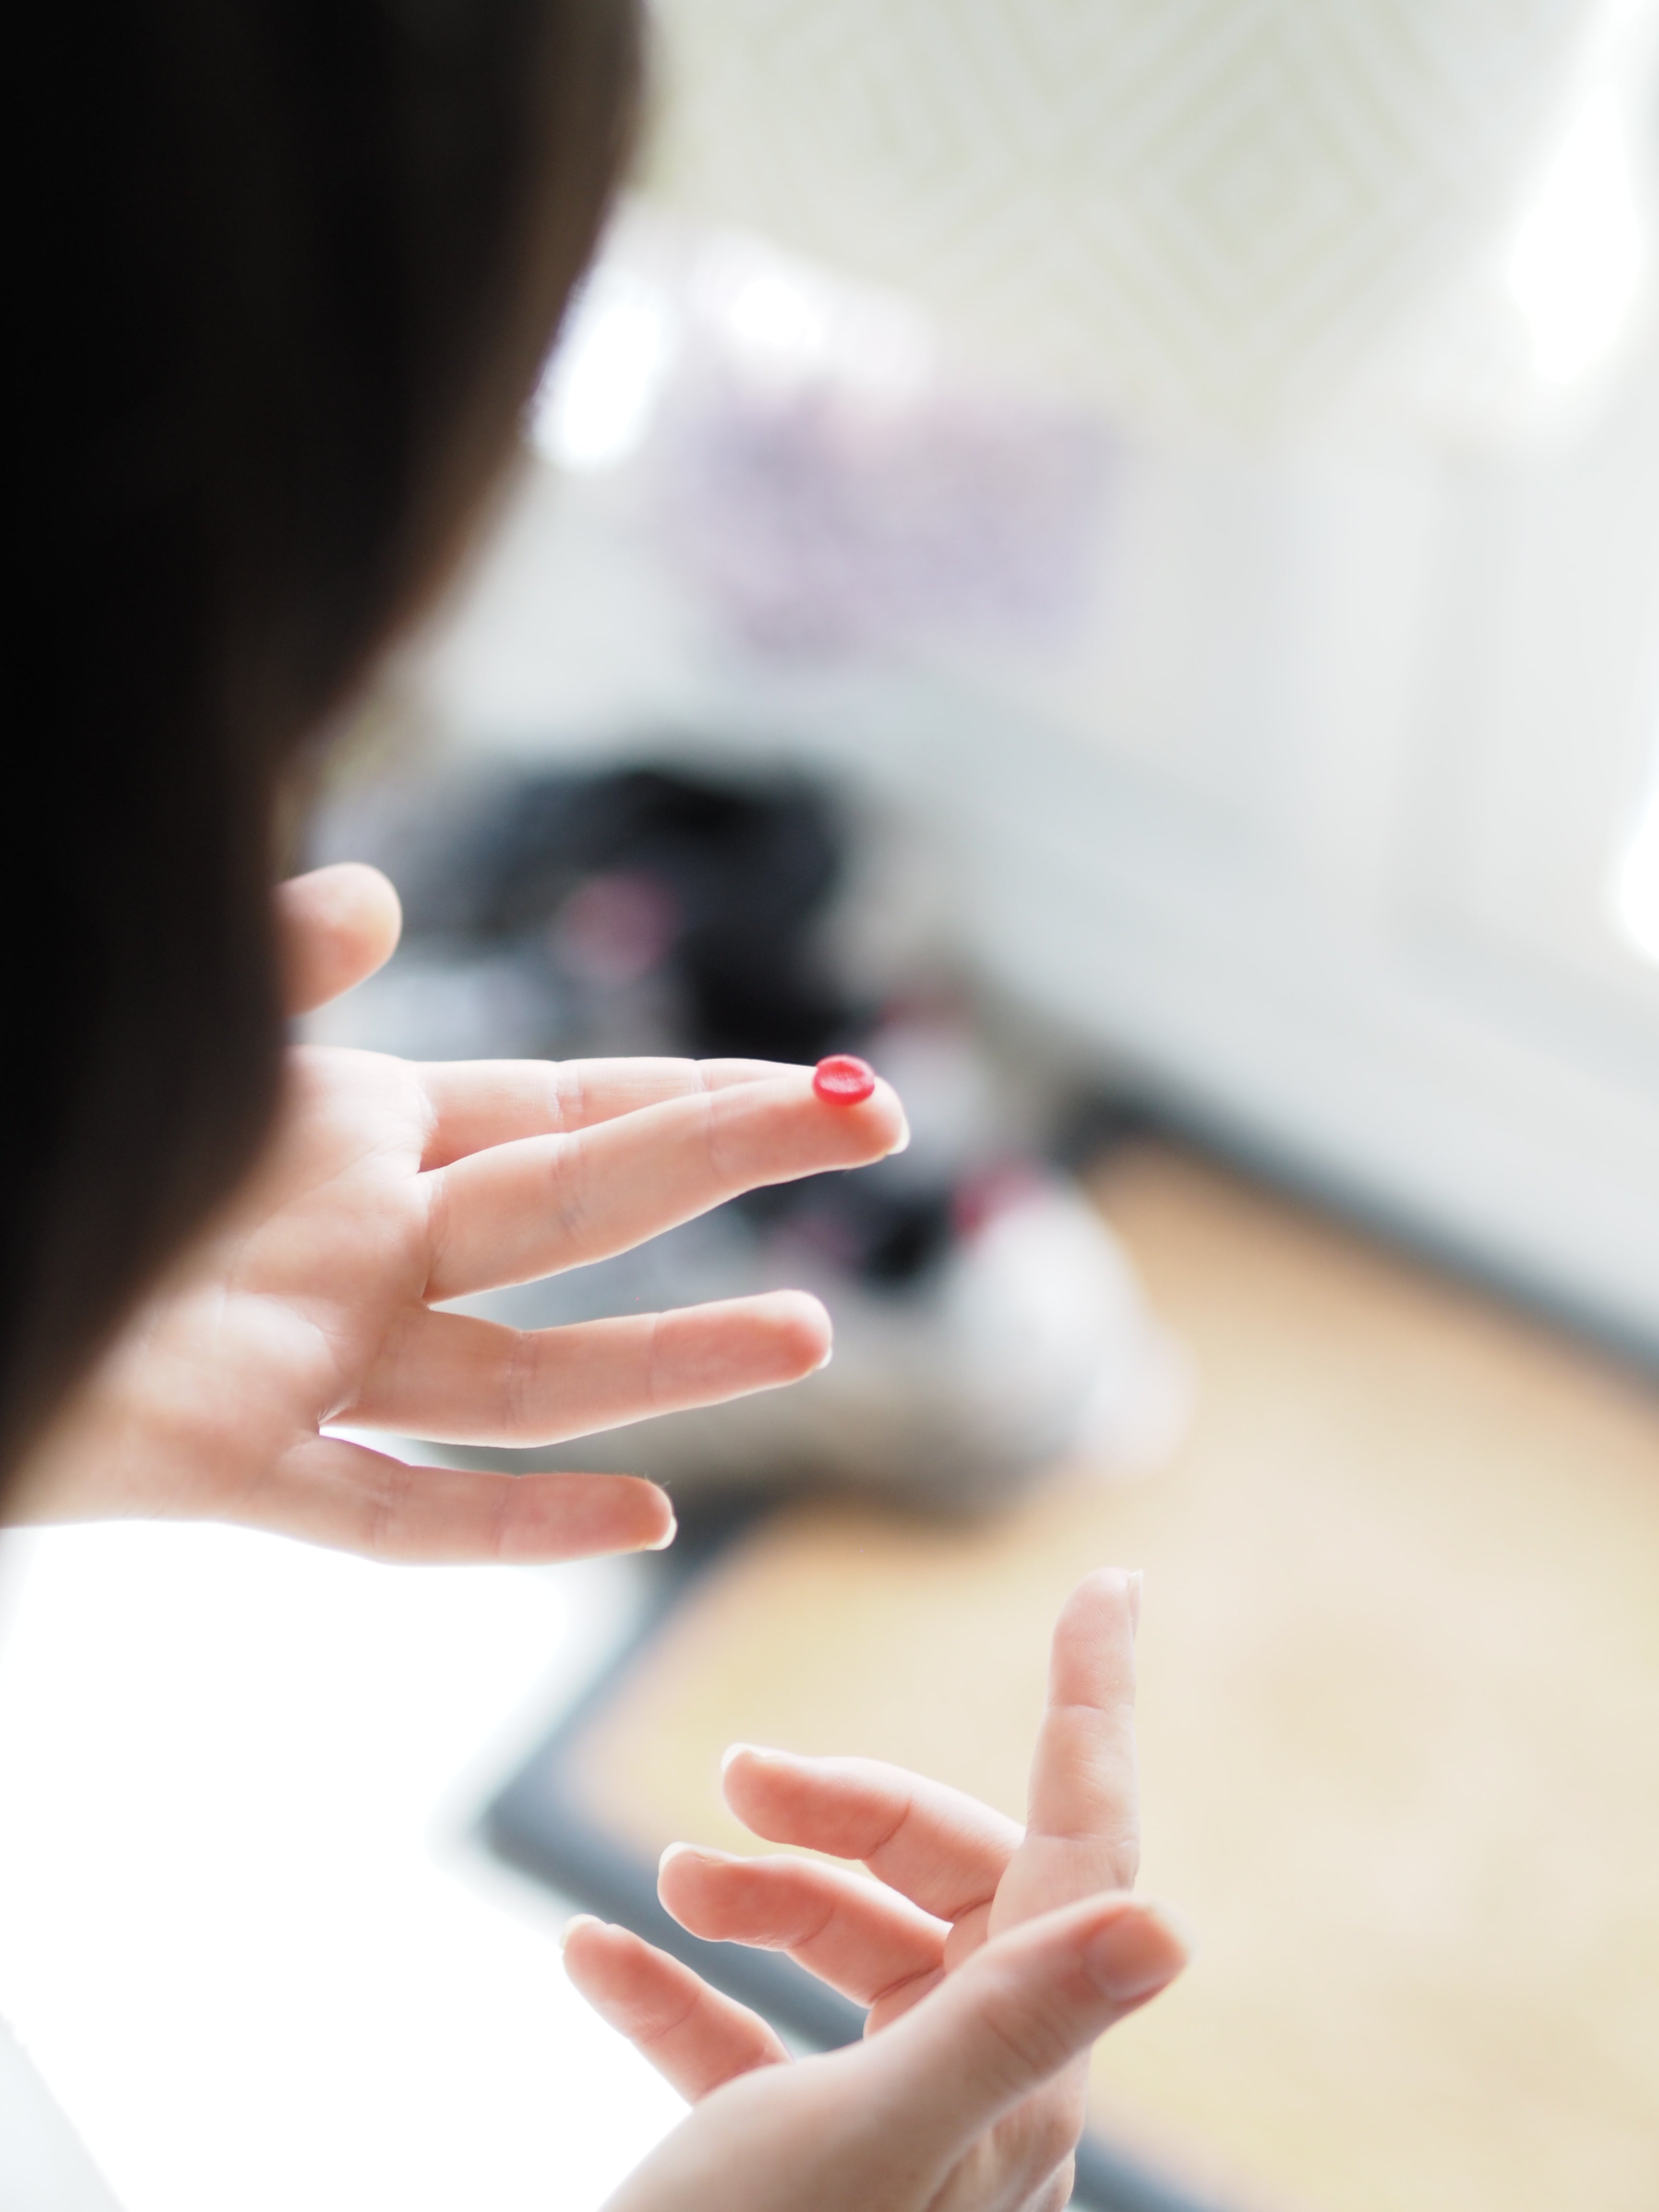
Lookin' good!
Be sure to inspect your wax impression carefully (see tips below for what to look out for). If you’re not completely happy with your impression, follow the steps to melt your wax back into a ball and try again. You can do this as many times as you need to (or as long as your loved one is willing).
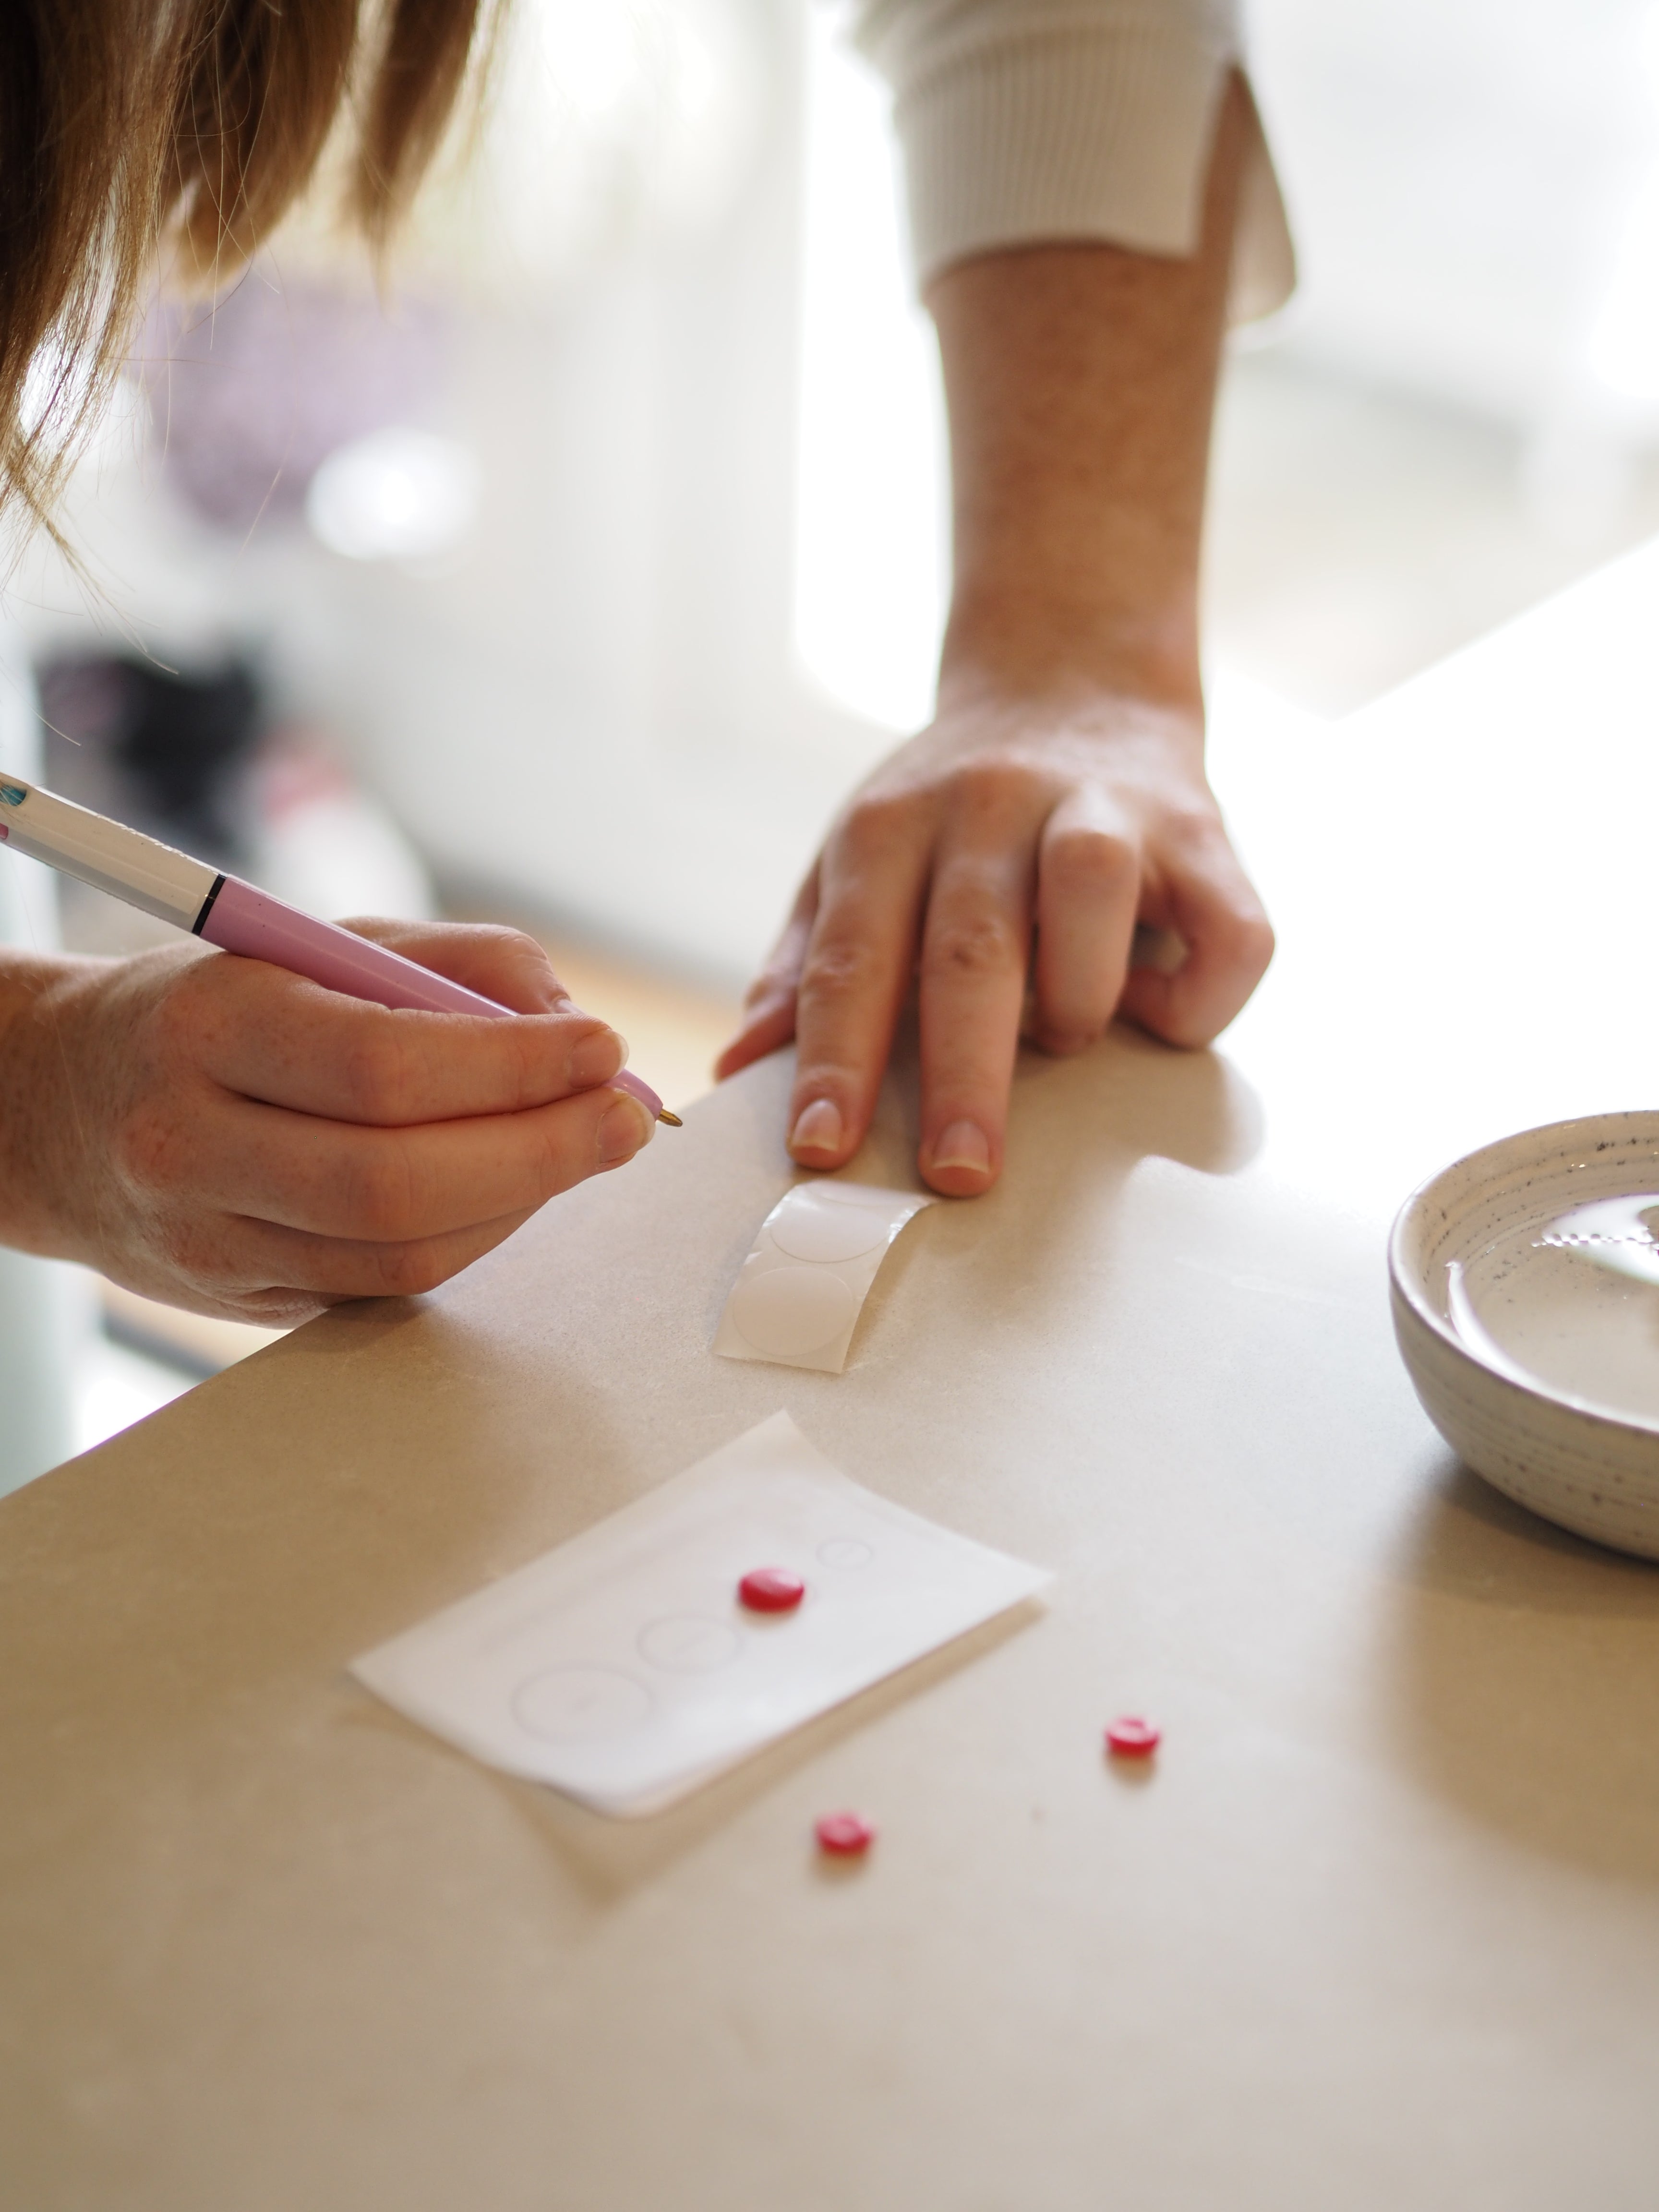
Tah dah!
Once you’re completely satisfied with all three of your wax impressions, place them back into their tins. Take care not to leave any unwanted impressions in the wax. Using the stickers, choose your preference by numbering them 1-3.
Once your impressions are safely packaged away, click below for the instructions on how to get your impressions back to us!
Need a little extra help?
Top Tips!
- To take a good impression, make sure your wax is warm enough. If the wax has not been warmed thoroughly, cracks and bubbles can appear. This will alter the quality of your pendant during the casting process. If you can see cracks or bubbles, reheat the wax and try again.
- It can sometimes be difficult to see whether you have taken a clear impression. As a general rule, if you can see the print with the naked eye, your impression is a good one. If you can’t see the impression with the naked eye, try taking a photograph of the print with flash. If you’re still unsure, send the image to info@rubytynanjewellery.co.uk for us to take a look.
- This kit is not suitable to be used on children under 6 months, as many will not have defined fingerprints yet. We advise waiting until the child is at least 12 months old.
- If taking an impression from an infant under 12 months old, you may find that taking the impression from the crease of the finger yields a better result. Or even their toes!
- To create a double sided impression, sandwich the wax between two fingers, pressing as evenly as possible.
**PLEASE DO NOT ALLOW YOUR CHILD TO INGEST ANY PART OF THE KIT**
Fingerprint Impression Pieces